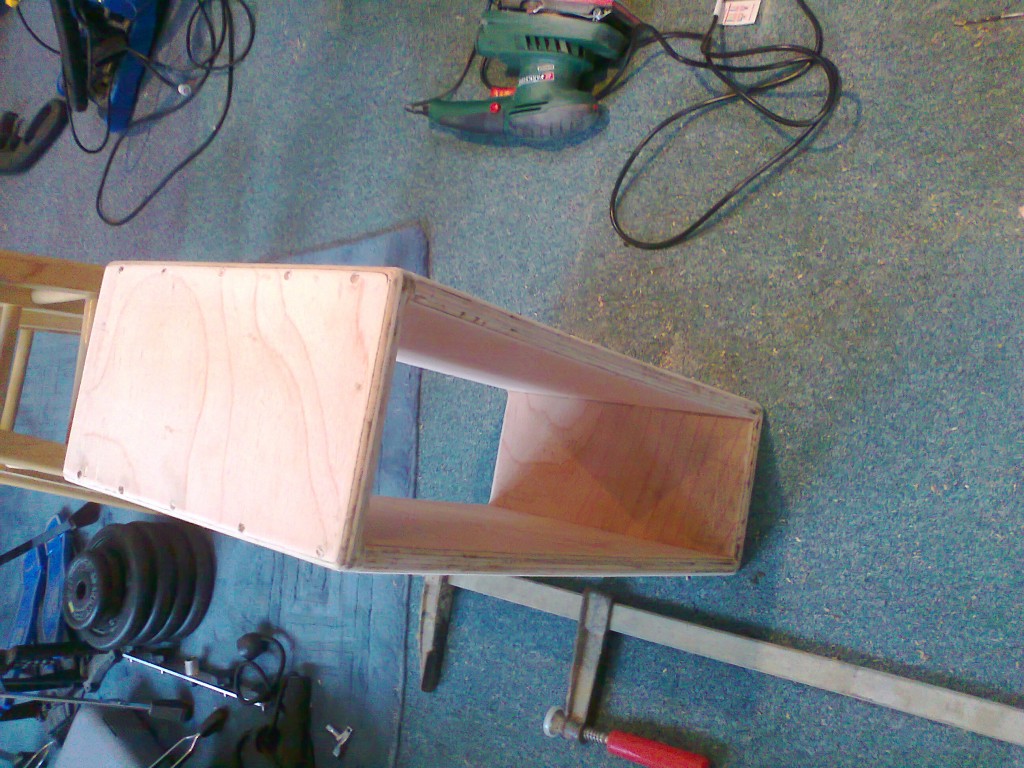
Recently i was asked to make a 3u rack using some rack strip that was precut to length (badly i would add). Below is some pictures of the project and some explanation.
Firstly the internal height and width of the rack need to be determined, a rack unit is 1.75″ or 44.5mm, so 3u is 44.5mm x 3 = 133.5mm. Below is a table of common rack sizes and internal heights. These are intended as a guide and should not be treated as gospel, Buy your rack strip first and build the box to it!
| Rack size | Internal Height | Recommended Internal Height |
| 1u | 44.5mm | 50mm |
| 2u | 89mm | 94mm |
| 3u | 133.5mm | 139mm |
| 4u | 178mm | 183mm |
| 6u | 267mm | 272mm |
| 8u | 356mm | 364mm |
| 10u | 445mm | 450mm |
| 12u | 534mm | 539mm |
| 14u | 623mm | 628mm |
| 16u | 712mm | 717mm |
| 20u | 890mm | |
| 24u | 1068mm | |
| 36u | 1602mm | |
| 48u | 2136mm |
I personally have brought most of my racks but now i would build them to the spec as i want. I wouldn’t recommend building over 16u as they are a bit big.
The internal width of the box depends on the type of rack strip you use but as a guide 490mm is the standard or 526mm if your design uses a strip of 18mm ither side to strenghten the rack/allow of handels ect like mine does.
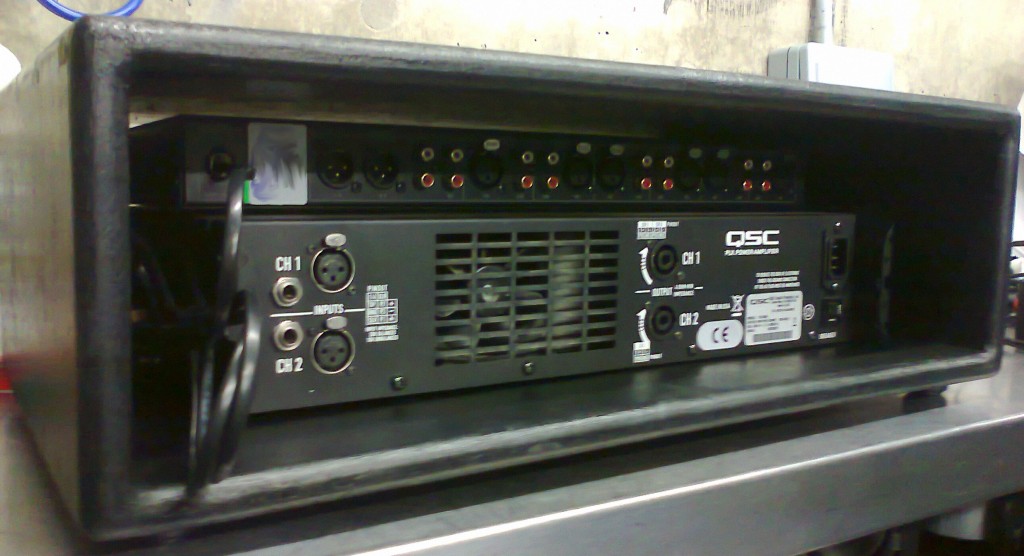
The depth of the box is completely up to you and what the racks purpose is. The rack i’ve just made is 330mm deep to allow for the QSC plx1804 amp and a small 1u mixer. You usually recess the rack strip from the from by 25-30mm.
So my internal measurments are 526mm wide by 144mm high by 330mm deep. This makes my external measurements 562mm by 180mm by 330mm (as i’m using 18mm ply).
The next bit is cutting your wood to size. Here a little bit of maths is used. If you can’t work this out for yourself them perhaps making racks is not for you.
| piece | h | l |
| side | 180 | 330 |
| top/bottom | 526 | 330 |
So now that this is assembled, using glue and screws, making sure that it is square using angle clamps, you can round off all the edges with a router and cut handles in if you wish, or just give it a sand over.
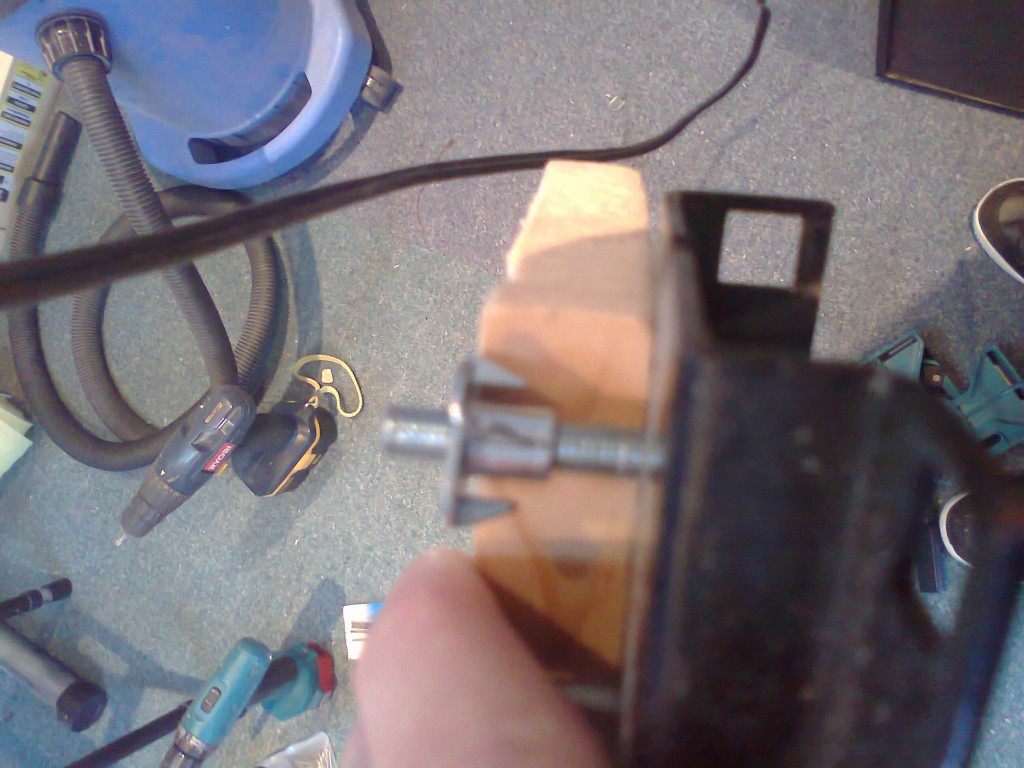
Next for this is to install a way of fixing your rails to the box. I opt for two pieces of planed timber either side through which bolts T-nut. Below shows how I’ve done it. Other opt to simple bolt through the box with a nut, bolt and washers.
If you’r using this method you can buy the right size bolts, cut them to length or simply make space by drilling a void into the box. I chose the third option while gluing them into the box.
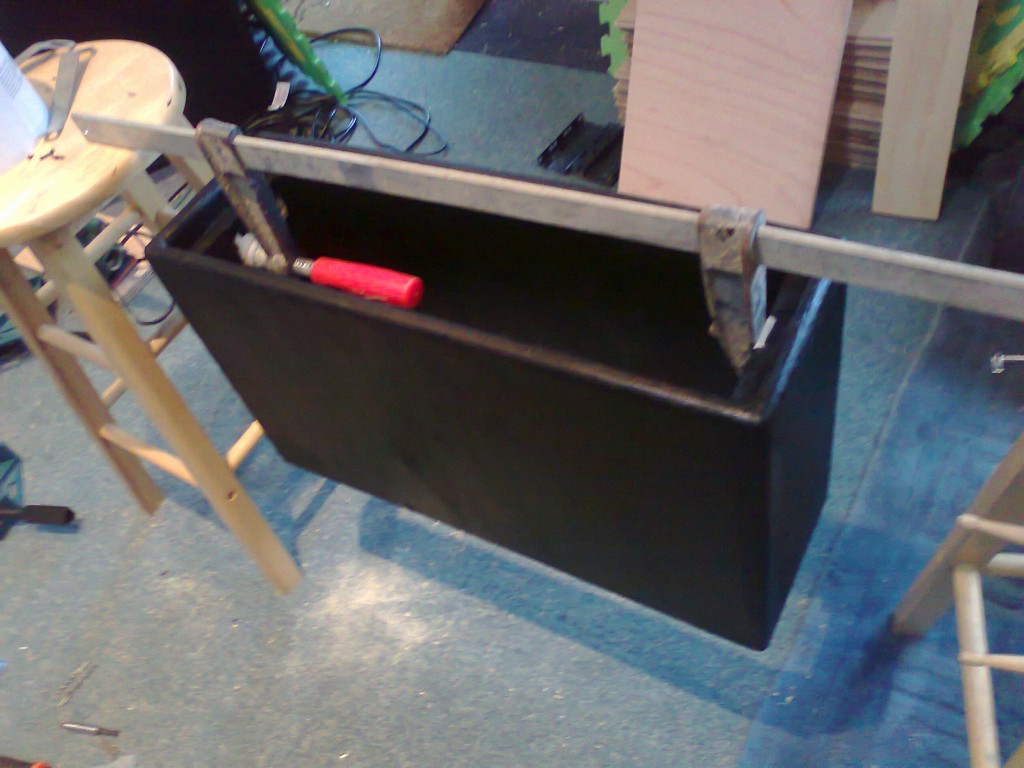
After allowing the glue to dry all that’s left to do is paint the box (or varnish if you prefer the wood look) and install the rack rails then the equipment.
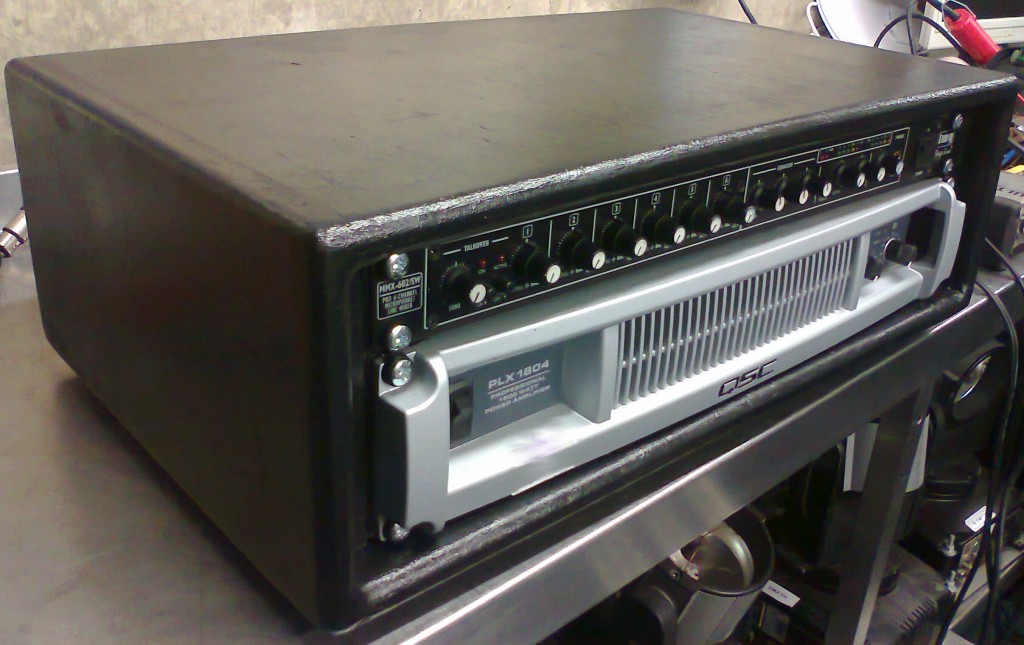
Updated with a picture of the finished rail detail and rack with equipment in it. I’ve added feet to the bottom, but no handles.
Looking back on this project i would say the following;
- QSC PLX amps have more sticking out of the front than i thought so moving the rails back another 20mm would be recommended for this style of rack,
- Fill the wood before paining as the paint finish is different where the wood and filler are bonded to differently.
There’s some more that I’ve recently done on this with 3 5u racks from one sheet of ply. Click here.
1 thought on “Rack(s)”
Comments are closed.