Following on from a earlier post, here is some more details about the flightcase.
This project started as making a case for 2 Martin Mac 250 moving head light fixtures. I had access to a 4 head case, so took measurements from that and made this case a little bigger so that it was more stable on the wheels and could be used as a more general case.
Measurements (external) 800*500*606+wheels
This is based around the following; The macs need to sit as if they were hanging from a truss in the box, which means they need a lip either side to rest on, and this lip must be 16.5″ from the base, and there needs to be 2″ from that to the bottom of the lid, ans the lid needs to be 4″ internally high. So that means the bottom needs to be 470mm internally and the lid 100mm, hence 606 including 2 18mm ply’s.
The width of the box was a generic number bigger than i needed, as was the width which helps stability being bigger.
Here’s my cut list and a diagram of a standard (1220*2440mm) sheet of ply (measurements are for 18mm ply).
As I don’t really have the facilities to make good cuts in the space i have, B&Q have a lovely service where they will cut the ply for me if i buy it from them, so i used this. The operators had no problem cutting this to the diagram and have an accuracy far better than i could get with my circular saw, straight edge and tape measure.
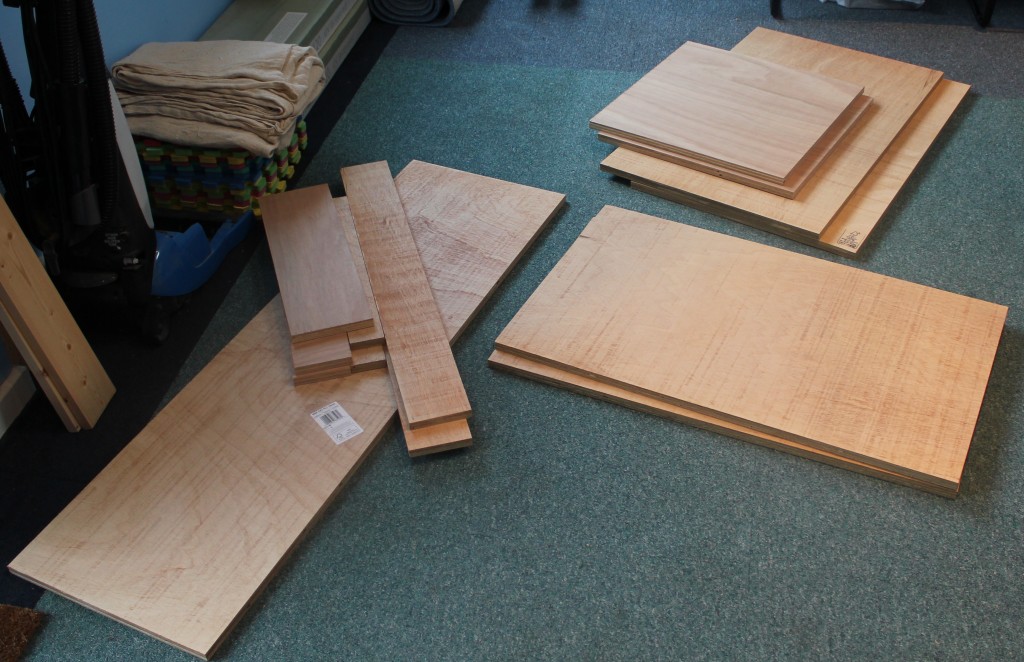
Here’s all the parts needed on the floor waiting to be assembled. There is also some(4) extra parts, 3 are specific for mac inserts and one is an off cut that i’ll use to built the rest upon to avoid glue and the like on my carpet.
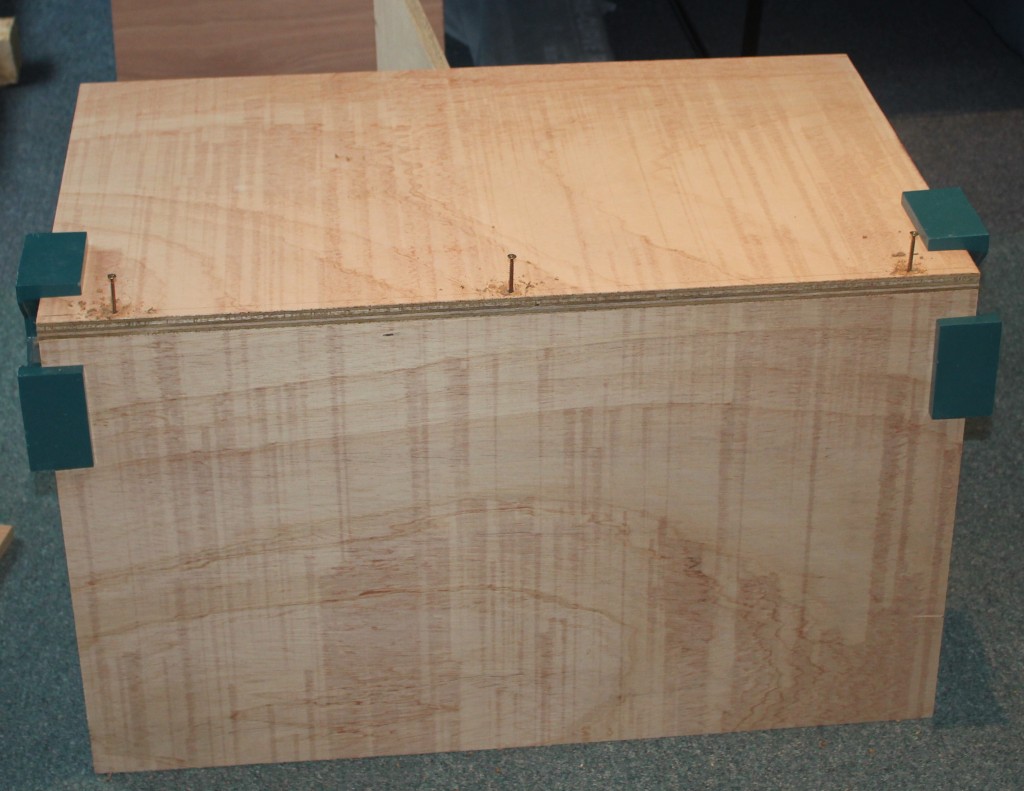
The first step of assembly is to attach the front and back to the base. Here it is easiest to work on the box as if it were upside down. You can use the other part/sides to help support the construction as i have below. Retrospectively, it may be easier to connect the base to the back then add the sides before the front, but that’s up-to you.
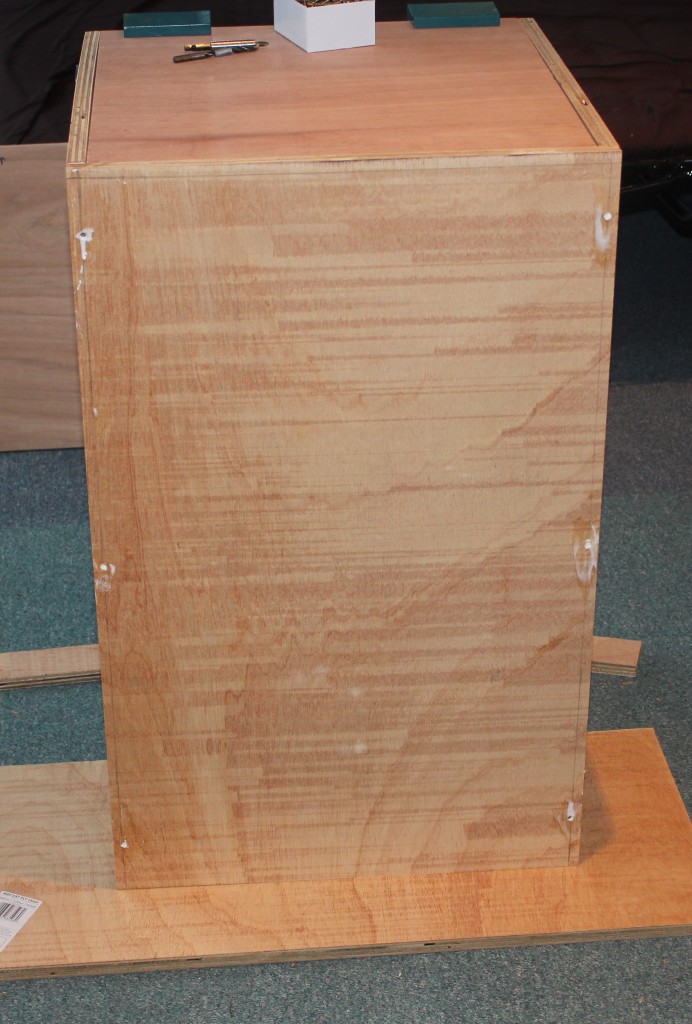
Next is to add the sides. I thought this would be easier but, this seems to be the easiest way. Firstly I glued the side from the bottom and then I glued and screwed from the front and back into the side.
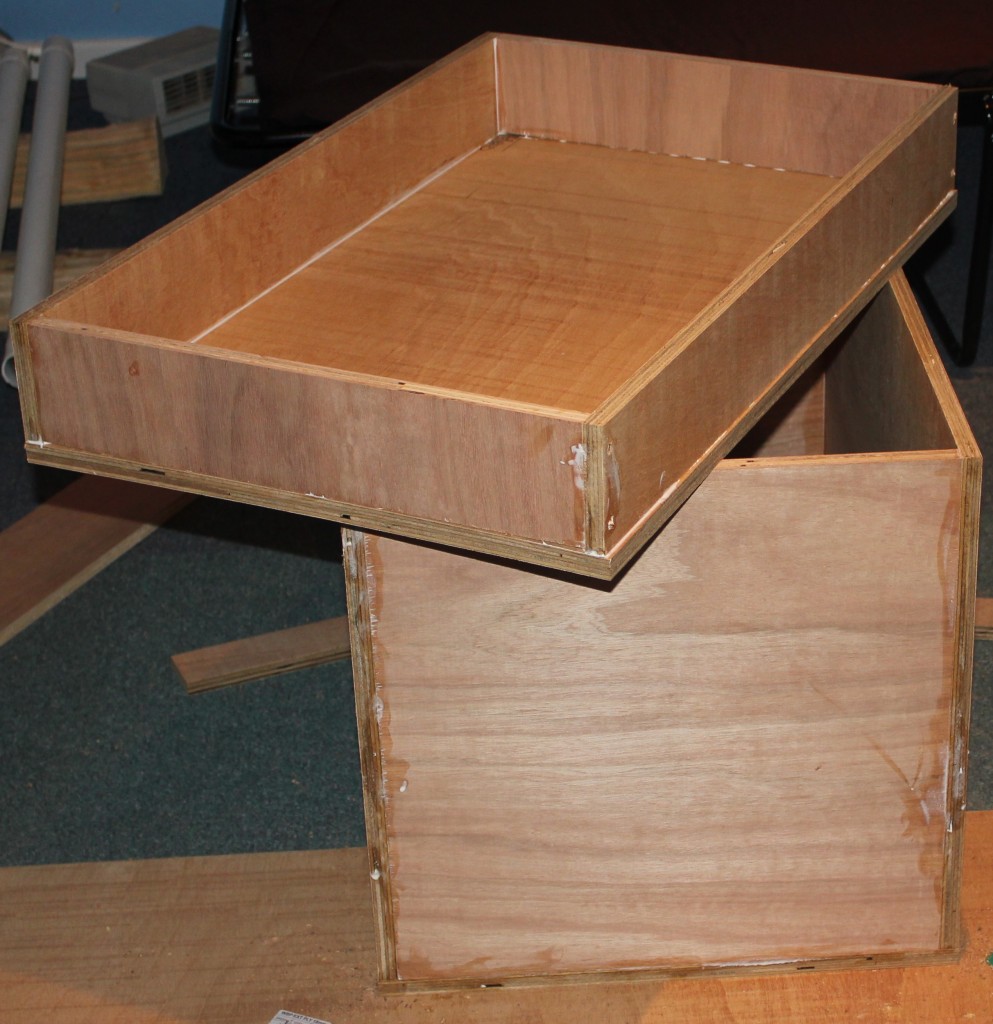
So that’s the bottom part done, now for the lid. Simply put add the sides as shown below gluing and screwing as appropriate. In the pictures above and below you can see that the cuts had some slight inaccuracies but I hope to fill these when I fill the screw holes.
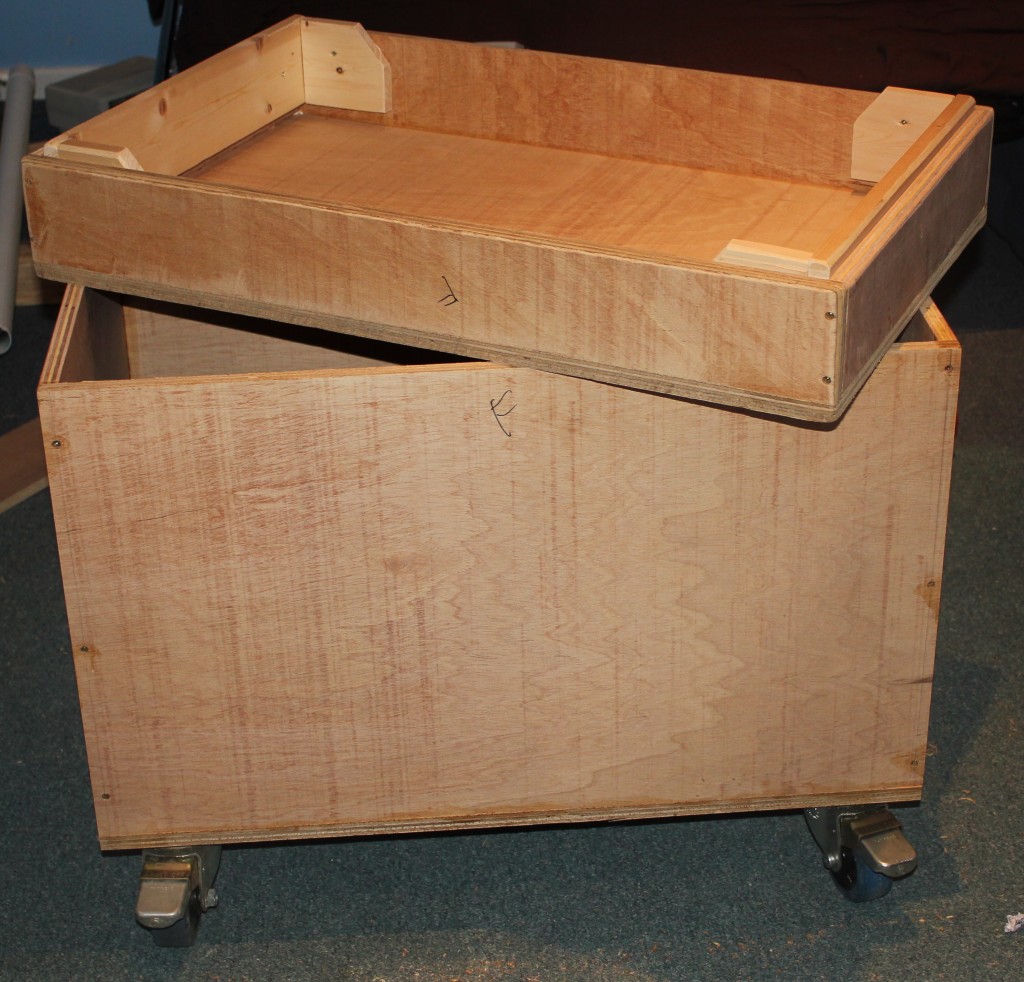
The next thing to do is to make the lid fit so that is doesn’t slide about. I thought of the solution shown below. It’s simple, but effective. Essentially I used some 4by1 planed all round timbre I had space and chamfered one corner off and cut into the box as below.
I’ve also added wheels above and started cutting out for butterfly catches.
This project is kinda ending here, as i’m planning the mark 2 version now which hopefully will be a better design and should have obvious benefits when complete.
